I’d packed all the ingredients I thought I’d need to make cinnamon rolls while we were holidaying in Nelson. All I needed was the recipe. The recipe I intended to make was more a scone based roll, and I will make them, but it wasn’t quite what I had remembered and as it transpired, we didn’t have time for me to make a cinnamon roll. But today. Well I was quite adamant that I would make this recipe, having spotted it in my Twitter feed on Saturday morning.
This recipe is easy, but I think making them in an hour is a bit of a stretch. Or maybe it was that I was also in the midst of making Rye Bread and a Strawberry Buttermilk cake at the same time. Yes, I was cramming as much as I could into one afternoon!
This morning I’d spent almost an hour watching an Atrisan Bread Craftsy video series. I learnt a few new tricks about what to look for in bread making.
Probably the biggest tid bit of information was about water hydrating the flour. I have yet to write up a post on making the Craftsy pizza recipe, but what I recall of that is how stiff my dough felt to me, yet I used the same measure of flour and water and watched for “tacky”.
I think the bread flour (high grade flour) is really dry as I needed to add a couple of tablespoons more water, which is perfectly ok. You’re aiming for a certain feel in the dough and if it means more flour or more water to achieve this then so be it.
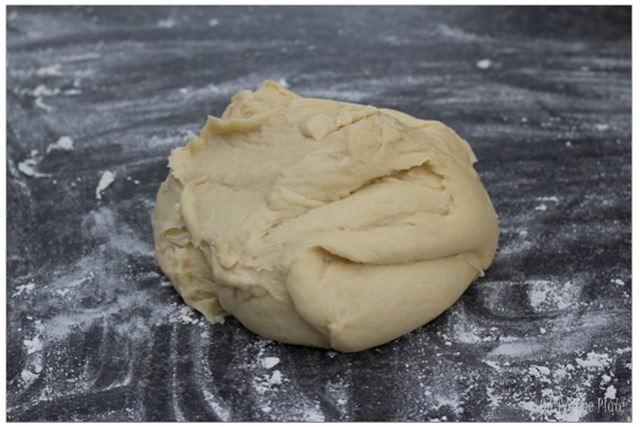
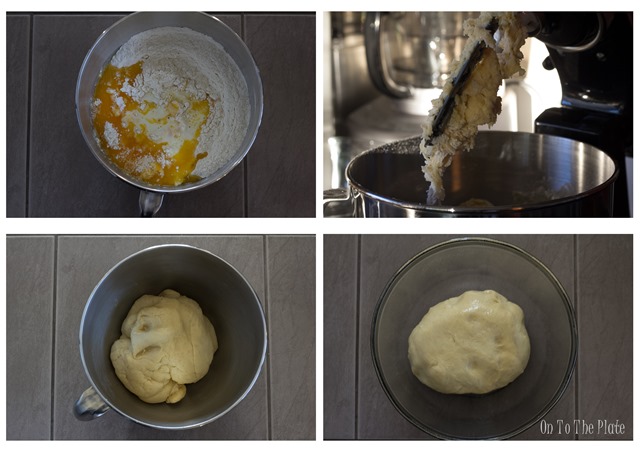
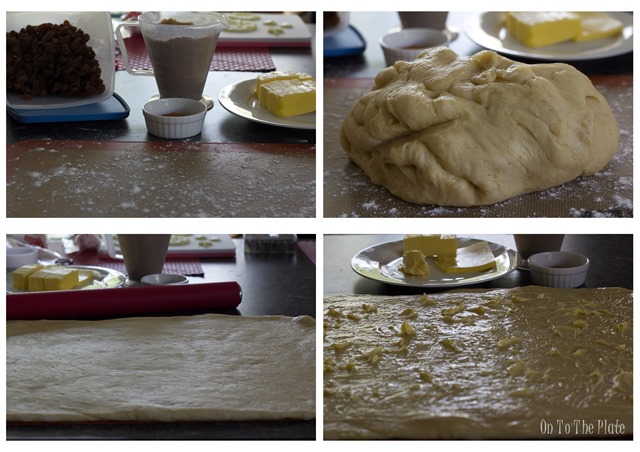
I made sure the dough for these rolls were also tacky. As the dough kneaded it pulled away from the bowl. The instructions in the Craftsy class talk about the feel of a Post-it Note peeling off your finger. That sensation was really helpful for me making sure that I had the right texture. The dough felt just like that to me. And what a beautiful soft dough it produced. It was really easy to handle and to roll out with the rolling pin, then roll tightly ready to cut.
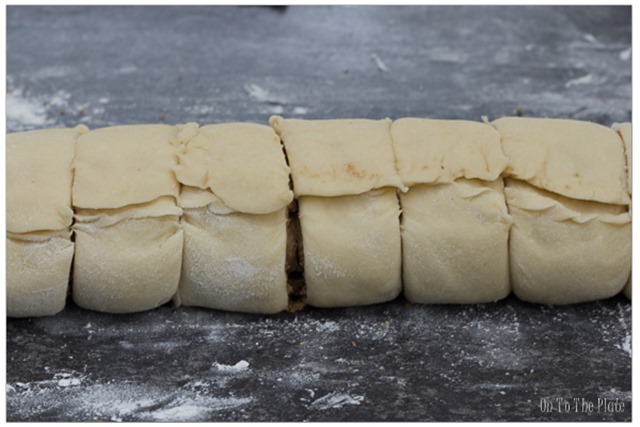
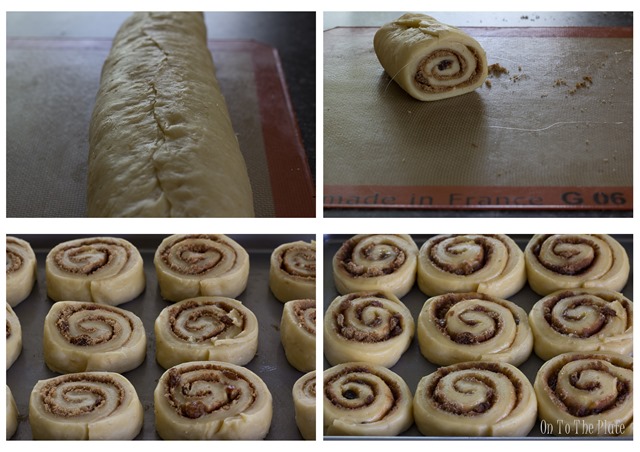
I used the nylon thread to slice through the dough. It worked a treat, as I knew it would. Natalie was quite taken with the idea too, and also has plans to make the cinnamon rolls having re-pin the recipe herself on Saturday.
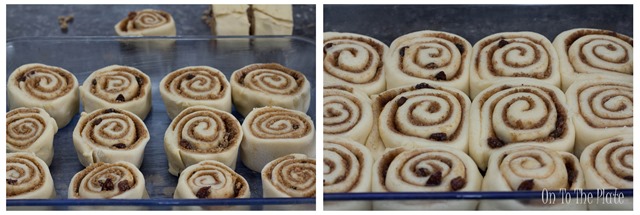
I’d just finished baking the Strawberry Buttermilk cake (I’ll post later) so my oven was too hot to put the rolls into for rising. But as soon as the oven was at 100deg Celsius I covered the rolls with damp kitchen towels and then left them for 25 minutes to rise.
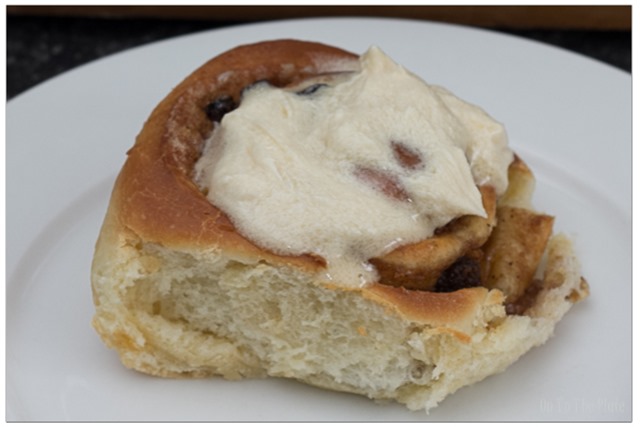
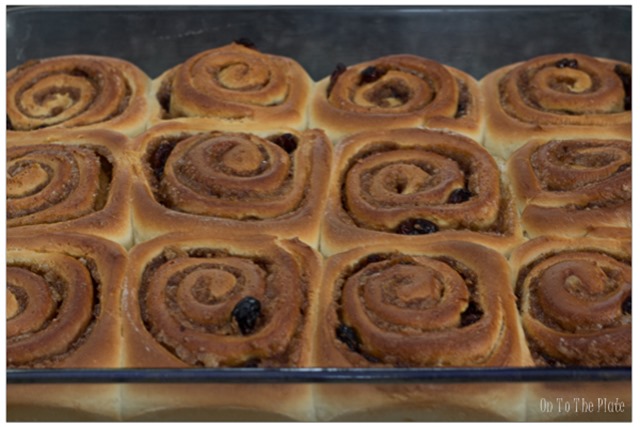
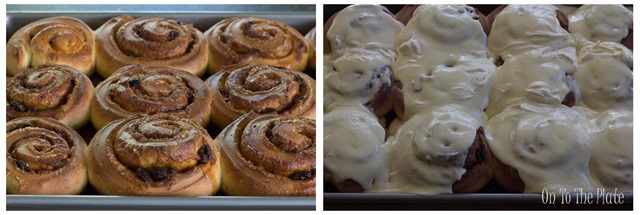
And they rose beautifully. In fact they almost looked like the photos of the blog I found the recipe. I personally like my bread to have a little more colour than the photos on Gimme some Oven, but it’s a personal preference. And I’d go to say my rolls have a touch too much colour, but they weren’t over baked, or hard.
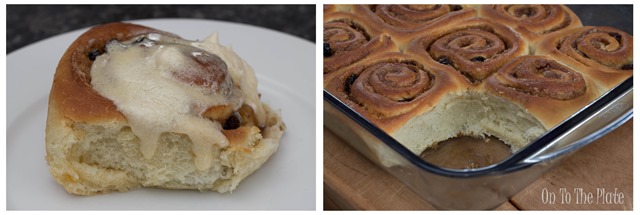
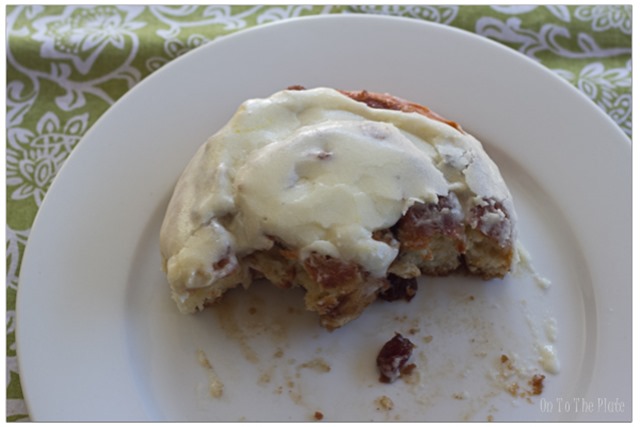
Mr Fussy made mention how many “left overs” we had accumulated in the inside freezer so I grabbed the Strawberries and the caramel frosting I had. I decided to thin down the caramel frosting and use that over the rolls rather than make a new cream cheese frosting.
I made a few changes to the recipe, both to appease to Mr Fussy’s likes and dislikes, but you can stick to the original recipe. However, despite making these changes Mr Fussy did not have a roll. After a slice of the Strawberry Buttermilk cake I think he’d had his fill. I don’t know how he could turn down a roll, but I guess the cinnamon in it was enough to put him off.
1 Hour Easy Cinnamon Rolls by Gimme some Oven
Ingredients
Dough:
- 1 cup milk
- 57gm butter
- 420gm plus 1/2 cup all-purpose flour, divided
- 1/4 cup white sugar
- 1/2 tsp salt
- 2 1/4 tsp instant yeast
- 1 egg
Filling:
- 1 cup packed brown sugar
- 2 tsp ground cinnamon
- 1/4 tsp ground cloves
- 57gm butter melted and cooled, or softened
- Handful of sultanas and or raisins (optional)
Frosting:
- 1/2 cup butter, softened
- 1/4 cup cream cheese, softened
- 1 1/2 cups icing sugar
- 1-2 Tbsp. milk (if needed)
Instructions
Dough:
- Put the milk and butter into a microwave jug and heat on high for 1 minute, then stir. If the butter hasn’t completely melted, return to the microwave for 20 second bursts until the butter has melted. Set aside to cool.
- Into the mixing bowl add the 420gm of flour, sugar, salt and yeast. Whisk to mix the dry ingredients.
- When the milk/butter mixture has cooled (should be slightly warm to touch, but not hot or it will kill the yeast) add the egg and mix to incorporate.
- Add all the wet ingredients to the mixing bowl and with the dough hook mix for a minute on low. The wet ingredients will moisten the dry ingredients and it will become a sticky ball.
- Turn the mixer up to medium low (for me 2 on the KitchenAid) and add a little more flour, a 1/4 cup at a time (I tipped the 1/4 cup in a bit at a time) and continue to mix on medium low until the dough pulls away from the side of the bowl and forms a ball. I looked for a tacky feel.
- When the flour is incorporated continue to knead the dough for a further 5 minutes on medium low.
- Cover the bowl loosely with Gladwrap and leave for 10 minutes while you’re preparing the filling.
Filling:
- Heat the oven to 100deg Celsius.
- Melt (or soften to a spreadable consistency) and then cool the butter.
- Lightly dust the bench.
- Tip the dough onto the bench and shape into a rectangle.
- Use a rolling pin to roll the dough into a larger rectangle, you might aim for a 9 x 14 inch but don’t stress about getting it perfect.
- Using a pastry brush, or your hands, spread the melted/spreadable butter over the rolled out dough.
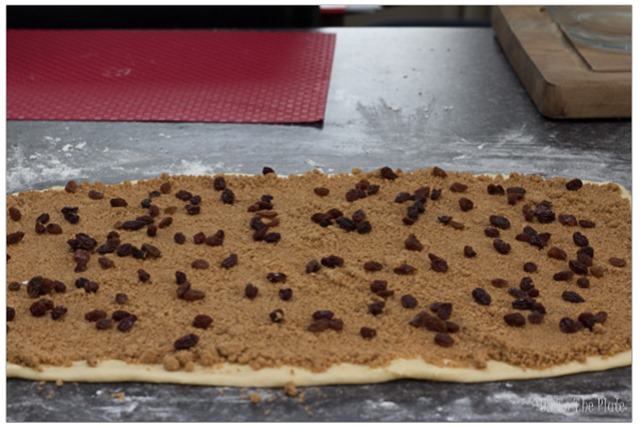
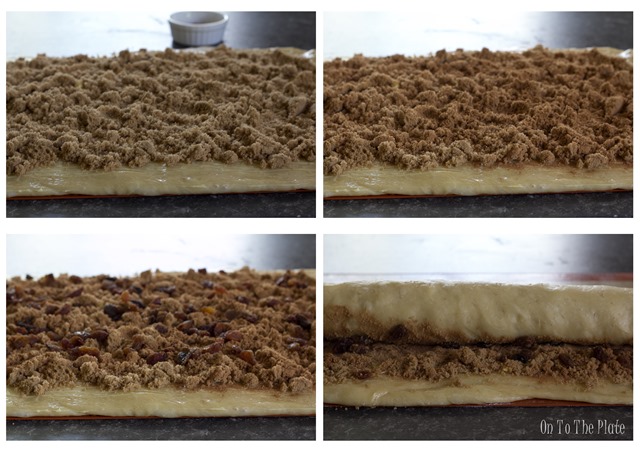
- Mix together the brown sugar and spices and then spread the filling over the dough.
- Scatter the dried fruit if you’re using it.
- Starting with the long end of the dough, tightly roll the dough and then pinch the end to create a seam.
- Roll the dough so the seam is flat against the bench.
- Using your bench scraper, a sharp knife, dental floss (unflavoured) or nylon thread slice the log to make 12 or so rolls.
- Liberally butter the baking dish and place the rolls into the pan.
- Place a damp towel over the rolls/dish and place the dish into the oven for 25 minutes. Turn the oven off while the dough is rising.
- When the rolls have risen remove the pan from the oven while the oven reaches a temperature of 180 deg Celsius. When the oven is up to temperature remove the damp paper towel.
- Bake the rolls for 15-20 minutes, rotating the pan after around 10 minutes to evenly bake/brown the rolls.
- Allow the rolls to rest at least 10 minutes before spreading (or pouring) the icing over. The heat from the rolls will melt the icing. If you don’t want the icing to melt then allow the rolls to cool longer.
Frosting:
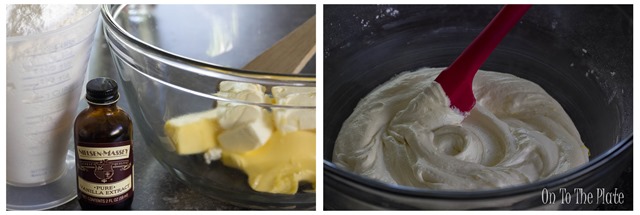
- In a bowl add the softened butter and cream cheese. Beat together until well mixed.
- Add the icing sugar and slowly mix together until all the icing sugar has been incorporated. Then beat for a few minutes. If the consistency is too stiff add a little milk a bit at a time, or if the icing is too runny, add a tablespoon or two of icing sugar until the desired consistency has been reached.
- Pour or spread the icing over the cooled rolls.
My Notes:
I left the oven door closed while the rolls rose, I forgot the door was meant to be slightly open.
My pan is 8.5” x 12” and I could only fit 12 rolls. I had15 cut. I could have rolled a smaller rectangle or cut thicker pieces, but the size of the rolls were just perfect for my likes.
The original recipe calls for a lot more butter for the rolled out dough. I didn’t use even half of the butter. One of the tweaks I’ve made is to reduce the amount of butter. For me I used just as much as necessary to cover the dough and then going over the dough a second time. But I wont judge if you use more.
Remember I used left over caramel frosting I had which I thinned with more milk. I didn’t use this frosting recipe, but it’s pretty standard.
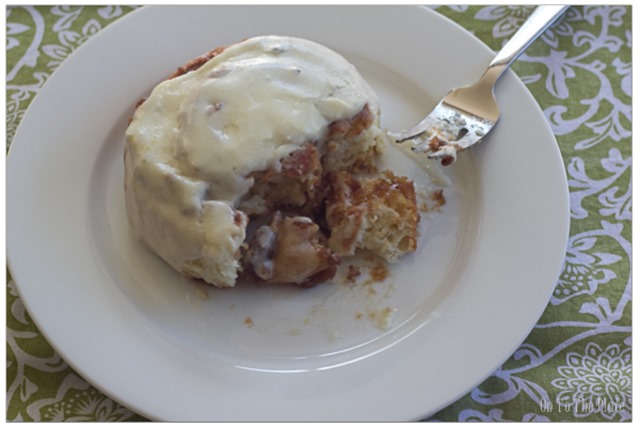
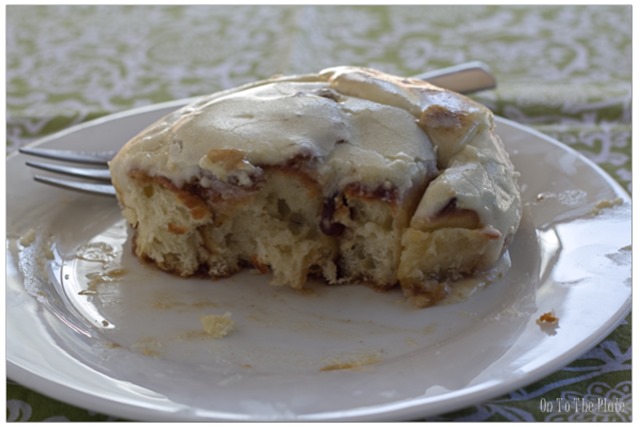
I couldn’t believe how soft and fluffy these rolls baked. I’ve read other bloggers gush over how soft and fluffy their rolls are, and I’ve made those rolls but never had quite the same soft and fluffy experience. I truly believe adding the extra flour a little at a time until I had that tacky touch was the key. The less flour you use the softer the dough will be. Even though the bench was floured, I wasn’t kneading any flour into the dough itself so don’t fret about how much flour is on the bench. You need enough to stop the dough from sticking, and I did have to ease up the dough a couple of times to flick a little more flour under where I was rolling the dough, so the dough was absorbing a bit of flour as it was being rolled out.
If I were making these again (and I suspect I will!) and Mr Fussy says he’s not going to partake in any, I’ll skip the ground allspice and instead add another teaspoon of cinnamon brining the total cinnamon to 3 teaspoons, as it is in the original recipe.
If you’re worried about the rolls browning too much, you can loosely cover the pan with tin foil. I’ll likely do that next time.

